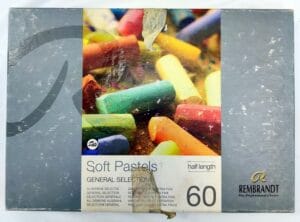
Pastels thrive on bold strokes and delicate blends. Elevate your work by using the following techniques:
Underpainting with Alcohol
Wash loose colour with a brush dipped in rubbing alcohol to establish a vibrant base. Once dry, layer pastels without clogging the tooth (see below).
Why? It binds pigment without filling the paper’s tooth.
Great For: Blocking in big shapes before layering.
Feathering
Layer parallel strokes of contrasting colours (e.g. blue and orange) for optical mixing (see Note below) – ideal for sunlit grass or skin.
Perfect For: Sunlit fields, impressionist skies.
Sgraffito (again!)
Scratch into pastel layers with a knife to reveal colours and/or undertones – ideal for tree branches, grass, lace or cats’ whiskers.
Fixative as a Tool
Lightly spray between layers to deepen hues without overworking. Use workable fixative, not final varnish. I use hairspray as an inexpensive alternative but do go gently as overusing any kind of fixative does dulls the colours. I suggest you test first.
Edge Control
Sharpen edges and focal points using pastel pencils; soften backgrounds with your fingers or blending stumps.
Using the proper paper, particularly when starting out, is essential. Your paper needs to have a good tooth on it so that you can add multiple layers of your pastels. See my previous blog from two months ago, Preparing and selecting your surface for pastels (Blog 13), for more details.
Optical Mixing explained
When you layer contrasting strokes (such as blue and orange), your eye blends them at a distance, creating vibrant, luminous effects – similar to how pixels or pointillism work. This avoids muddy mixes while keeping colours fresh and dynamic.
NB I do not get paid to endorse any people or brands mentioned in my blogs.
If you enjoyed this post, please like, share and follow me. Sharing, liking and following raises the algorithms in my favour.
Thank you for your support.
