My first rule for beginners is that you don’t need to go out and buy lots of paints, just keep it simple. To start with you need red, blue, yellow, black and white. Having just these three primary colours in both warm and cool versions (plus black and white) allows you to mix a very wide range of colours. Warm colours include cadmium red, cadmium yellow and ultramarine blue, whilst cool ones include magentas, lemon yellow and phthalo blue. Your art shop should be able to help if you can’t find what you’re looking for. My best advice here is to buy quality paint. Learn with fewer but great quality paints and you will get better results.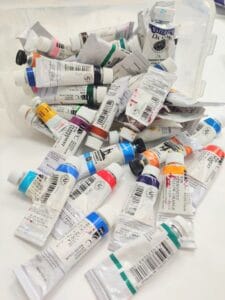
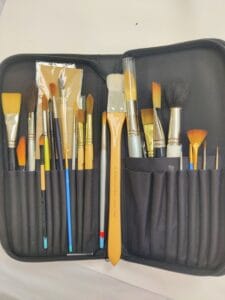
With paint brushes, you kind of have the best of both worlds. Ideally you should go with synthetic brushes for durability, but you can, and I do, use both oil painting brushes and those made for watercolour. If you want to produce work without brush marks you can either layer the paint with acrylic and water, ensuring each layer dries before adding the next, or you can try using soft watercolour brushes, which leave fewer marks. An oil painting brush will leave lots of texture if that is what you like or you could try using a palette knife, which makes cleaning up a whole lot easier.
 Because acrylic paint does dry quickly, I always have a large pot of water where I can put my brushes to keep them wet until I am ready to clean them properly. See my previous blog about working with acrylic and preparing your canvas for acrylic painting.
Acrylic is very forgiving. If you don’t like the result, you don’t have long to wait before it dries and then you can simply paint over it. This also means you can build up lots of layers and either scrape back through them to reveal what’s underneath or you can rub through the layers using sandpaper. Glazing with acrylics is easy to do to. Just add water or, if you prefer, something like a pouring medium to create depth and luminosity. Acrylic lends itself really well to impasto painting as it is less likely to crack when you apply thick layers. That’s not to say it won’t crack if you have very thick layers, but you can be fairly generous.
Once you have finished your masterpiece, you will need to wait a week or so for it to fully dry/cure before applying a couple of layers of isolation coat and then adding a varnish finish.
I did touch on this in my seventh (7th) blog, but I will be delving deeper into finishing in a later one.
NB, I do not get paid to endorse any people or brands mentioned in my blogs.
If you enjoyed this post, please like, share and follow me. Sharing, liking and following raises the algorithms in my favour.
Thank you for your support.